Brian Carlson had taken a lot of trouble to prepare an excellent talk which was greatly enjoyed by the large number of members present. Our thanks to him.
Pelargoniums are tender plants originally brought to England in the 1600s by sailors returning from the Cape. They were sold for huge amounts of money by the sailors, who presumably then had no need to return to sea!
An angel Pelargonium
At that time they were called “Geranium” which are hardy, herbaceous plants. French botanists realised that being tender they were not the same plant as Geraniums and renamed them Pelargoniums or “stork’s bill” from the shape of the seed pod.
Pelargoniums are usually grown in a pot, or as bedding. Brian recommended compost comprising 3 parts good quality multi-purpose compost to 1 part sharp sand or horticultural grit. Add slow release fertiliser according to the maker’s instructions.
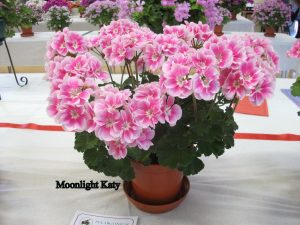
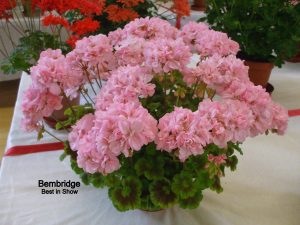
A basic zonal Pelargonium
He demonstrated taking cuttings (you can do this from August onwards) and showed us a novel way to arrange them. Choose the pot you wish to use, then place another, smaller inside the first pot. Fill both pots with your compost. Now take out and empty the smaller pot and place your cuttings around the edge of the larger pot (as recommended by Monty Don).
This means that when you think they should have rooted you can simply remove the inner pot to find out. What an excellent and simple idea!
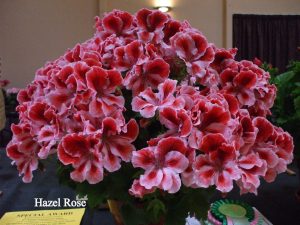
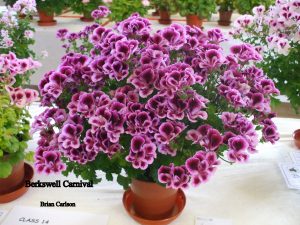
A regal Pelargonium
Brian also recommended the use of Jiffy pots as an alternative to the above. Which ever method you use, hormone rooting powder is of little use as the hormone degrades after 6 months. (I suppose a way round that if you are keen on rooting powder is to buy a pot and share the contents with your fellow gardeners, so that you use it within 6 months.
Over the winter, Brian uses a high nitrogen fertiliser then he changes to a balanced product in March then a high potash one, such as Tomorite, in April. He suggested Rose Clear Ultra and Bayer Fungus Fighter, as an insecticide and fungicide respectively.
A dwarf Pelagonium
Miniature Pelargoniums are grown in small pots and have not more than 5 inches to the top of the leaves, with flowers above. (I bought Bold Cherub from him, so you may see that in the Show – class 93 for those of you who bought plants from Brian.)
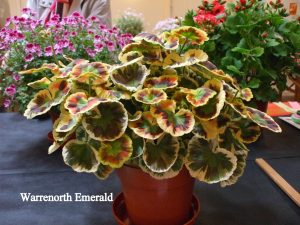
A tricolour Pelargonium
Zonal Pelargoniums are so called because of the dark coloured area in the centre of the leaf. They are classified as basic, dwarf, miniature, stellar etc. There are also fancy leaf zonal varieties with their leaves being bicolour or tricolour for example. I must say I loved the gold tricolour Warrenorth Emerald Brian showed us, which is essentially a foliage plant.
We don’t have a foliage class in the Show – do you think we should include one? Please let me know if you do.
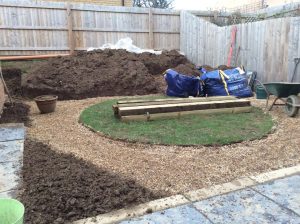
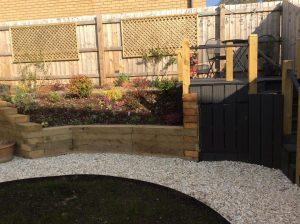
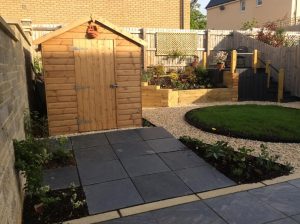 We were very lucky to find a landscape gardener who was happy to follow my plan and suggested cutting into the granite bank and making a utility area which has been very successful. He also created a path on the higher level which has enabled me to plant shrubs against the back fence and also to plant the fairly steep area below.